Hand Stitching on Layouts
- Amy Cunniff-Bleau
- Jan 27, 2022
- 3 min read

I absolutely love stitching on my layouts. As I read scrapbooking magazines, I noticed that many scrapbookers were adding either machine or hand stitching. I grew up watching my mom do counted cross stitch and she taught me at a young age, so I gravitated towards hand stitching. (I also do not have a lot of patience for sewing machines!)
It wasn't until I discovered Allison Davis and Scrapbook Generation sketches that I really learned how to successfully master this technique. While I do not stitch on every layout, I have found that stitching can really give my layouts a finished and more polished look. I also find the process therapeutic. While I am not an expert, I will share the tools that I have used, and keep close at hand.
Paper Piercer
The We R Memory Keepers Brad Setter and Piercing Tool is my go-to paper piercer. I like that it has a cap to cover the point. I've been using the same one for years and it is still just as sharp as when I first bought it. They go for about $10 on Scrapbook.com.
Foam Mat
If you plan stitching on your layouts, a foam mat is absolutely must have product to protect your workspace. I purchased this mat years ago and it's still going strong after thousands of pokes into it. I like that it is 12 inches long, so it can accommodate the entire length of my page.
To purchase either of these essential items, you can click on the photos and it will take you to Scrapbook.com.
Stitching Templates
I have used a handful of stitching templates over the years and here are a few of my favorite ones:

Basic Templates
This is, hands down, my favorite stitching template. I use the border when I want to stitch a straight line on any of my layouts. The template is an 8" x 8" square and when I need to create a 12" stitched line, I simply move the template up, line up the last hole I punched with the template and finish off the row.
I have used this template to stitch circles before, but hands down, I use the straight edge all the time. You can see in the layout below I stitched a border around the pattern paper square in the center of my page.


Decorative Templates
I have also used these decorative templates to stitch on my pages. As you can see in the layout of Alyssia skiing, I used parts of the swirl stencil to create the effect of blowing snow. Although it's a little tricky to stitch curved lines, it is worth the extra effort.


Dotted Dies from The Stamps of Life
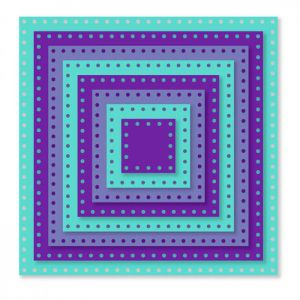
When I have to stitch on smaller shapes within my layouts, I've used these amazing Dotted Dies from The Stamps of Life. They come in squares, circles, stars, hearts, rectangles, tags and ovals. I'll die cut a shape out of sturdy cardstock, and then place that on my layout to use as a guide to poke my stitching holes.

Here is a layout that is currently in progress but is a great example of using the Dotted Heart Dies. I cut the hearts out of my pattern paper and then stitched through the poke holes. I then adhered them to the layout.

Shaped Stencils
Shaped stencils are a fun way to add details to your layouts! I love how it can really add a whimsical touch. This was the stencil I used to create my two-tone snowflakes on my Playing in the Snow layout.

These are a few of my stitching tricks! But to really learn how to stitch on your layouts, I've included a link to the You Tube video Allison Davis made for Scrapbook Generation. She has been the biggest influence on my style of scrapbooking. So, to learn from the Pro, watch Allison's tutorial.


Comments